A Day in the Life of The Tiny Tack House

Originally posted Monday, March 26, 2012
I’ve had a couple people ask me how I feel about the size of my house and living with two cats. Everyone seems to be very interested with day to day life in the Tiny Tack House, so I thought I would share some of my day to day adventures.
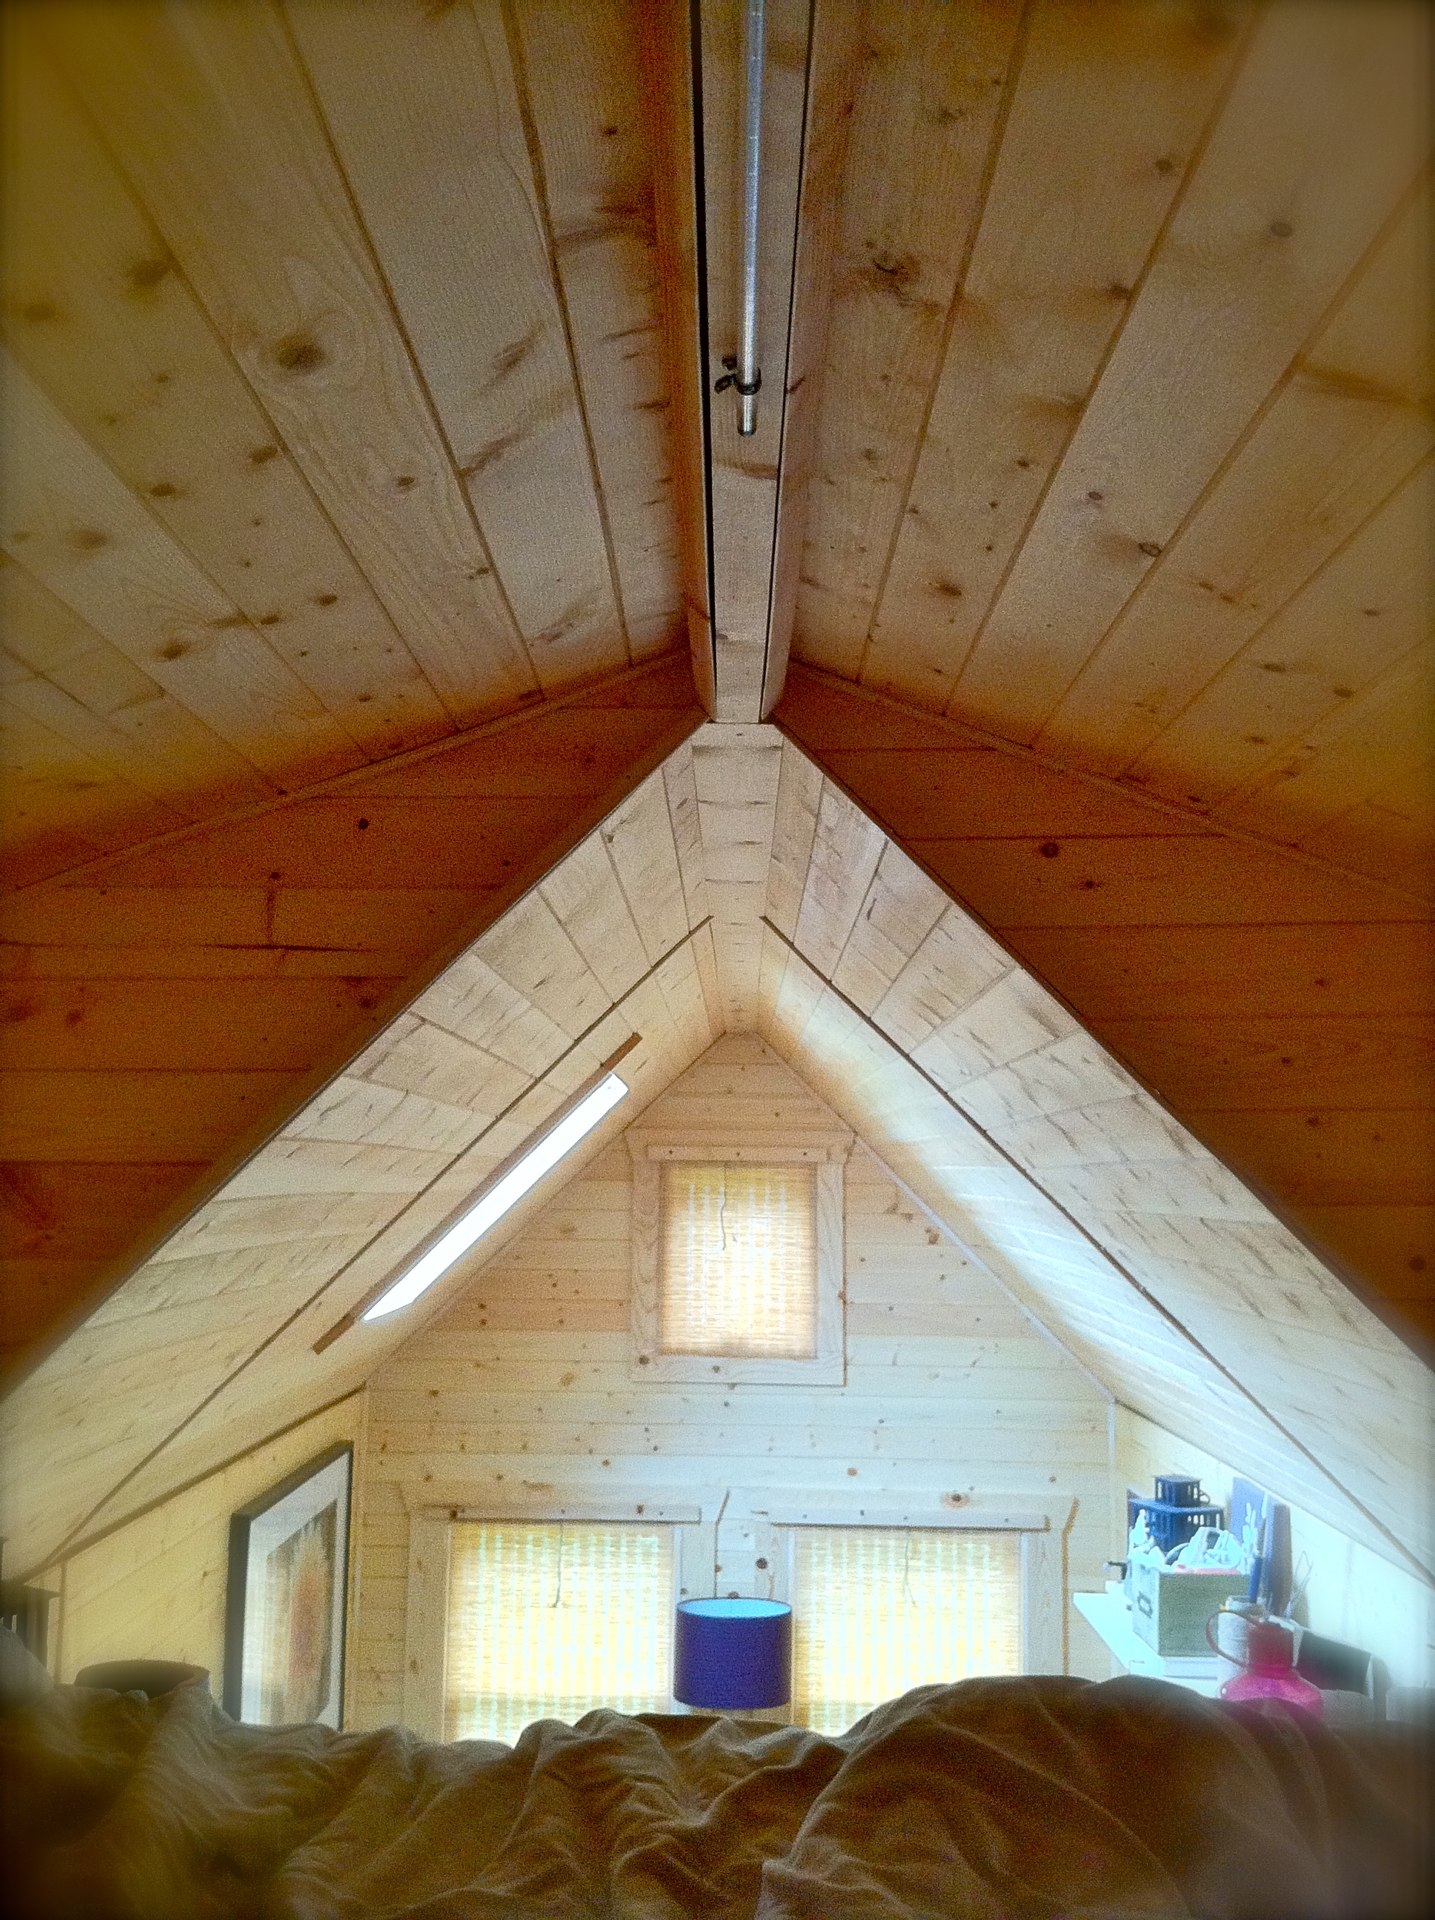
Welcome to my morning and my bed, glamourous I know. Every morning my bed looks like this, but then again so do many others. I’d like to think that my house looks perfect at all times, but it doesn’t... It takes effort to keep the space clear of papers and shoes, small things that find their way to places they shouldn’t be. But because it’s such a smaller space, it really only takes about 15-20 minutes to fully clean my house, not just put stuff away clean, I mean scrub the floors clean. Now, back to my bed. Sometimes I make my bed, sometimes I don’t... the nice thing about my bed being up in the loft is, I don’t have to see it all day. The messy covers can be messy and I never have to know about it. And by the time I’m ready for bed, it’s already made for me to sleep in, just need to pull the covers over top of me.
I am then greeted with the loving cries of our children aka.. Sethcat and Calypso. And by loving cries, I mean screeching howls from the underworld. But we love them none the less. They love the food that they are about to receive that has somehow been hiding from them all night long. They are very eager to show me where they have found it.
Next stop... the shower. As you all know, Christopher and I are using a half cut wine barrel to serve the function of our shower/tub. I did some research about wine barrels, and a few people told me to look into a winery to find one. I did find a couple wineries in the area that did sell used wine barrels, the problem was the price. It was looking like we would be spending about $200-$300 for a barrel, which was totally out of our budget range. I had remembered a few months before, this little wood shop down the road, I had seen a half cut barrel sitting out in the yard... it was a long shot, but maybe they would still have some available. It was just before close as we pulled up to the shop. A gentleman approached us asking if there was anything he could help us with. We told him of the wine barrel that we had seen a few months back and were curious if you have any others. We were shocked to hear him say that not only did they just get one in that day, but they had also cut in in half!!! Yay! We might have just found our barrel. He asked us which half we were interested in, we asked, how much... I was worried he was going to say $200 or more.... and the verdict was... I’ll give it to you for $70. Sold! We thanked the man and took our barrel home. The reason we were so anxious to get the barrel home was, we needed to get our plumbing done as soon as possible. See, it was end of nov. and we were moving into the house in dec. My advise to anyone doing a wine barrel shower, look local!
Maintenance of your wine barrel. One thing when it comes to having a wine barrel shower is... you have to maintain it. Chris and I did not put any liners or any sealant on or in the barrel, the barrel is as it was the day we brought it home. The water used from the shower every day keeps the wood expanded, and thus keeps the barrel from leaking. If we put down a liner or sealant it up the wood might have dried up and caused some cracking issues. One other thing to consider when using a wine barrel as a shower is how to clean it. All barrels have this lowered groove on the inside of the barrel, this means that like in a normal shower, the water drains to the actual drain, the water in my barrel drains to the sides. This means after every shower I use a sponge (like in the photo) to soak up the remaining water along the sides. I do this so that no bacteria will grow. Think of a typical shower and how you go months without really cleaning it, and you get that dark soapy film along the base... that would happen if I didn’t clean the shower each day. I’m not spending any more effort to clean my barrel everyday than I had to clean my shower every month. I love my barrel, especially because of it’s natural materials, and it just makes me feel warm inside, haha.
As for our water heater, since you are going to want hot water for your shower. We have an Ariston 4 Gallon Electric Water Heater. Chris decided to put the water heater on a switch, this gives us control of when it needs to be heating the water. We don’t use a lot of hot water throughout the day, so we turn it on when we need it...saves a ton of electricity. We flip the switch in the morning, usually only takes about 10-15 minutes to fully heat up. That 4 gallons of water will serve the shower in the morning and all the hot water I need throughout the day for dishes, without having to turn the heater back on. Our shower head has a very low water flow, and that saves us a ton of water, only about 1.5 gallons per minute.
One thing Chris and I were thinking of adding to this system is a timer for the water heater, that way when we wake up in the morning, there will already be some hot water ready for the morning shower. I would highly recommend using a switch or timer for your heater, you don’t want to keep warming water throughout the day for no reason, it will eat up your electricity bill.
Breakfast is served! We love our fruit and veggies in this house, can’t seem to get enough of them! Nothing better than starting the day out right with some delicious organic food.
After our tummies are full, Christopher takes off to work and I get ready to work on the computer at home. I’m a 3D artist and between that and updating the website, I keep myself busy. There are still little things around the house that I take care of here and there, nothing extremely important, more visual little things. After a full days worth of work, I get ready to make some grub for Christopher when he gets home from work. We have a two burner Princess Stove that runs on gas. We picked up a 20 gallon propane tank back in mid Dec. and the tank is just know starting to feel light (and that’s with frequent use everyday, breakfast, lunch and dinner).
We designed our work space to serve a few functions. During the daytime hours it serves the function of Malissa’s desk. Once Christopher comes home it serves the function of dinner table, and when we are relaxing at night, it serves us as an entertainment center.
Time to do the dishes!
In our old apartment, Christopher and I had a two compartment sink... which when you really think about it, served the purpose of...more space to put dishes...right? When we had the larger sink, it just seemed to fill up with dishes and they wouldn’t ever get clean. Now that we only have the one sink, we are forced to take care of our dirty dishes! This is good when you already have limited space for things. We have made a rule that all dishes get done at night, this leaves for a less stressful morning and a much happier day to follow.
Once the dishes are done, every other day, Christopher and I fill up the water tank that we have underneath the kitchen counter. We had a custom built 40 gallon clean water tank made for the space underneath the counter. We also have the ability to hook up to city water, depending on where we end up parking the house. During the winter, we opted out of having the water hose hooked up, due to the low temps at night and the possibility of it freezing. So, every other day we fill the tank to the rim, we do this to keep the water temp in the tank as close to room temp as possible, since the water outside is so much colder. We are trying to keep the condensation on the tank to a minimum. If we wait till the tank is empty to fill it, the condensation builds up on the outside of the tank and drips down to the floor. That would be one thing I would change about the tank, and that is to prop it up off of the floor, that way if it is leaking or dripping, you can clearly see it on the floor. One other thing to do is to seal up the floor underneath, so no water leaks through to the subfloor.
We picked up a filter and water hose (real water hose... don’t use a garden hose, they are not meant for drinking water) over at a local RV Store. The RV Store is a great place to find little things like this that are helpful.
This is what the water inlet looks like from the inside of the house. The open spout is what’s connected to the water tank for the fill. The connection with the water line connected is the city water in line.
We wanted a system that would work both on and off grid.
This is the outside of the water fill. The pushed in area is a flap, that when the city water is hooked up we can still lock it up. This was also found at the local RV Store.
Well, time for bed!
I hope that me sharing a day in the life of a Tiny House Owner has been both informative as well as entertaining. Time to turn the lights out and enter sleepy land.
Feel free to ask for any advise/help... I’m around all day, and would love to help out with anything that I can!!
Happy Tiny House Building! If you have a blog yourself, please feel free to post a link to it... I would love to check out what others are up to!!

What I think my bed looks like.

What my bed really looks like.


