Kitchen Countertops, Living room Cabinets & Dormers

Originally posted Monday, November 7, 2011
The past week we have been able to finish up a few projects. The first being the front door, and honestly it could not have happened at a better time. The weather has gotten much colder out during the day and even more so at night, so to have the door sealed up really feels good. We ordered the door knob about 3 weeks ago and it took almost 2 weeks for it to get built and shipped to the store for pick up.
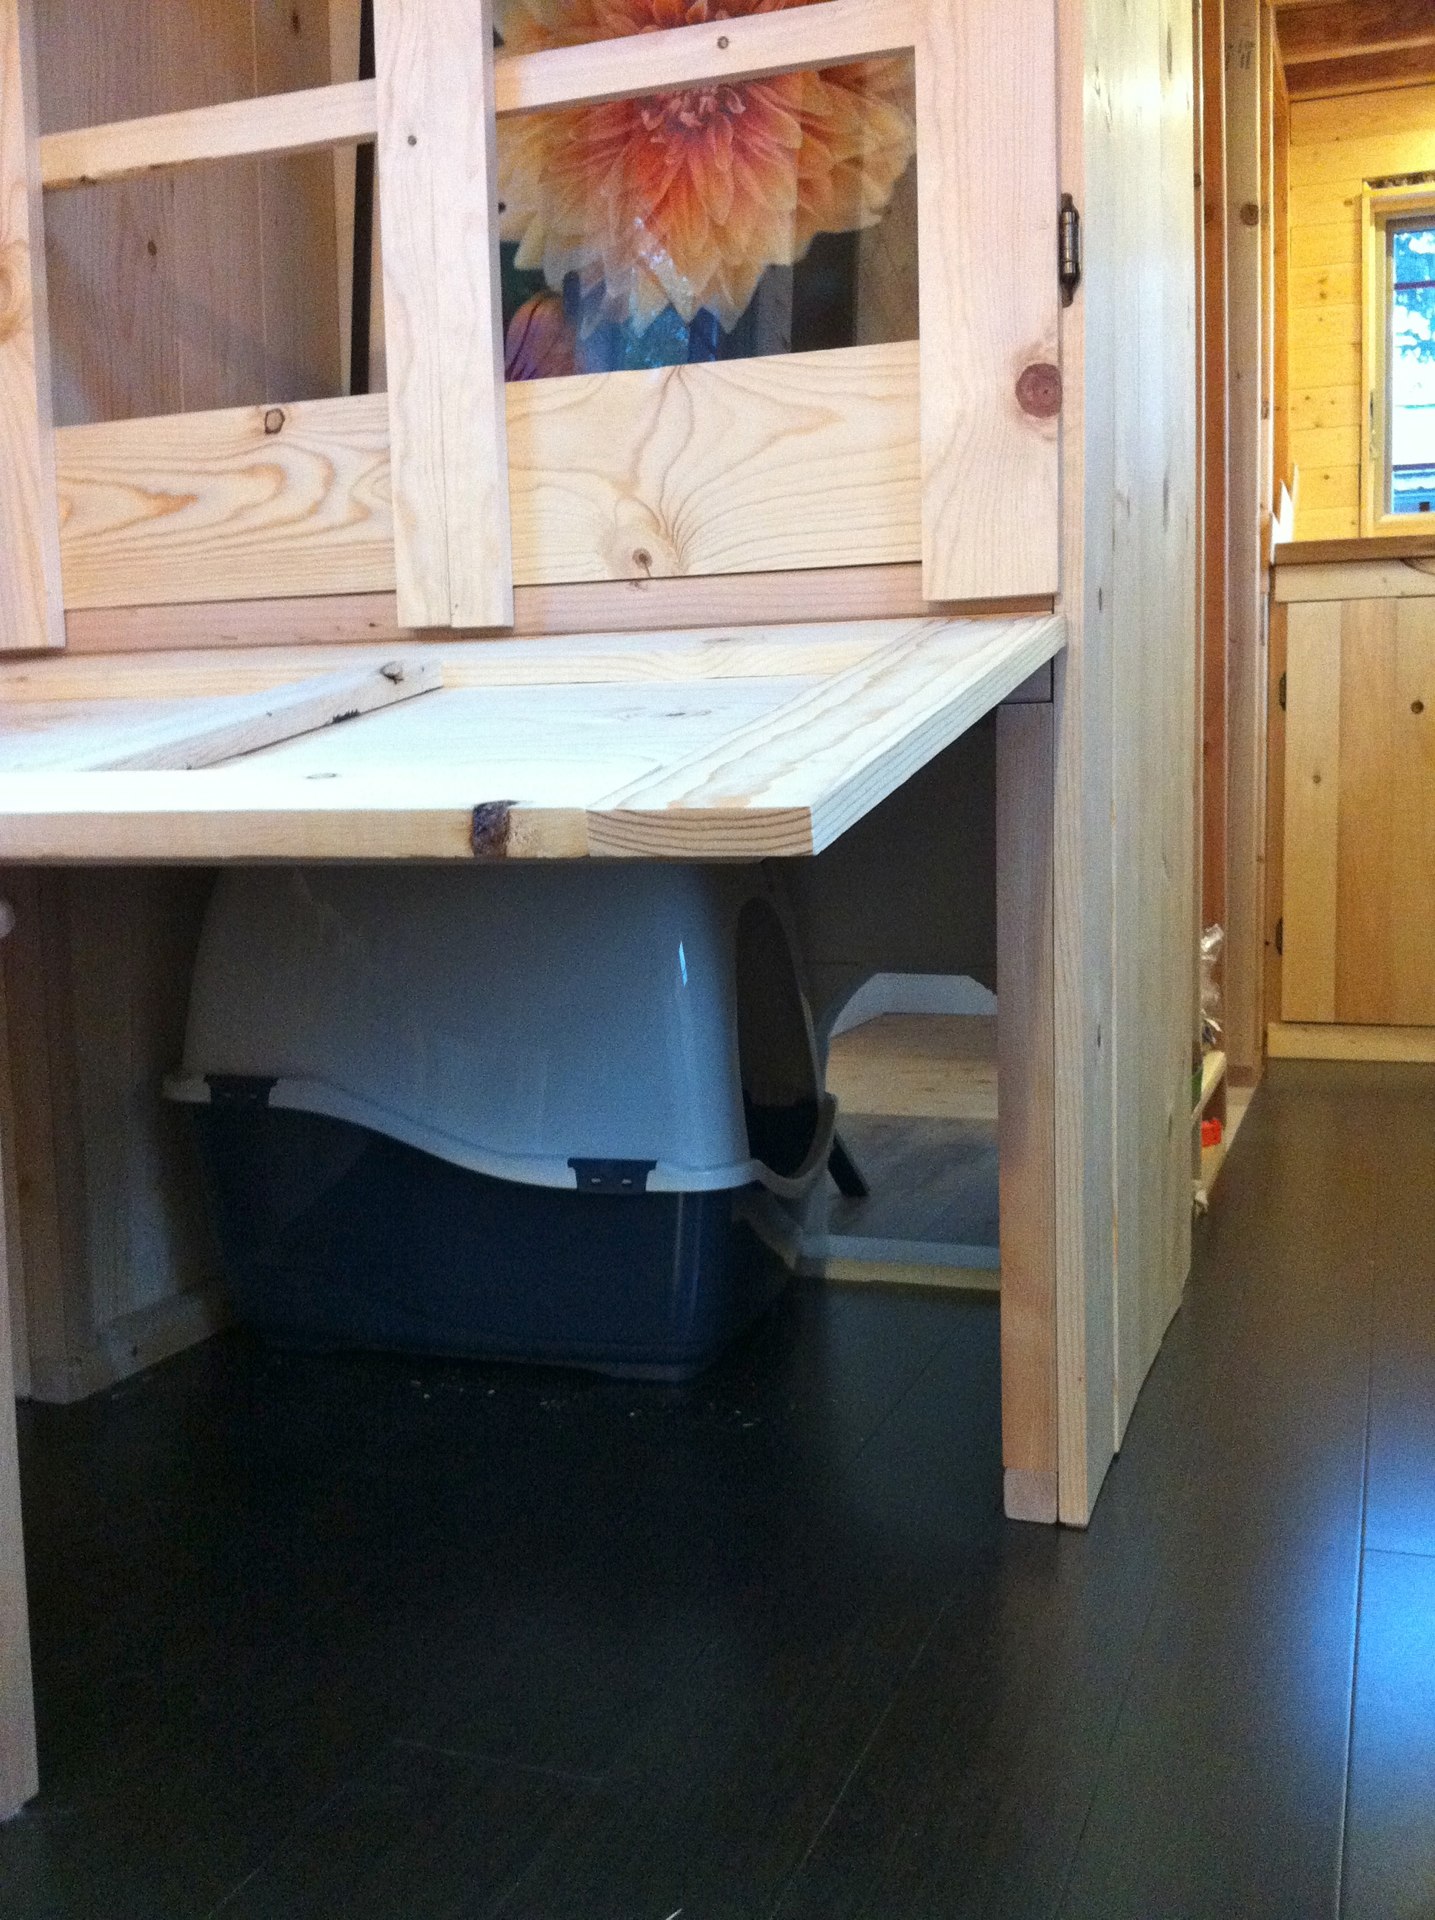
So, we also were able to finish up the cabinet in the living room. It’s made out of Pine 1x4 and 1x6 with 2x2 bracing. With this design that Chris and I decided on, gives us a nice lightweight door. We are going to put some shades on the inside of the cabinet to cover the doors.
The Bottom of the door to the cabinet, opens up for easy access to the kitty litter. Because there is so much extra room in the space, this is also where the cat litter and food will be stored.


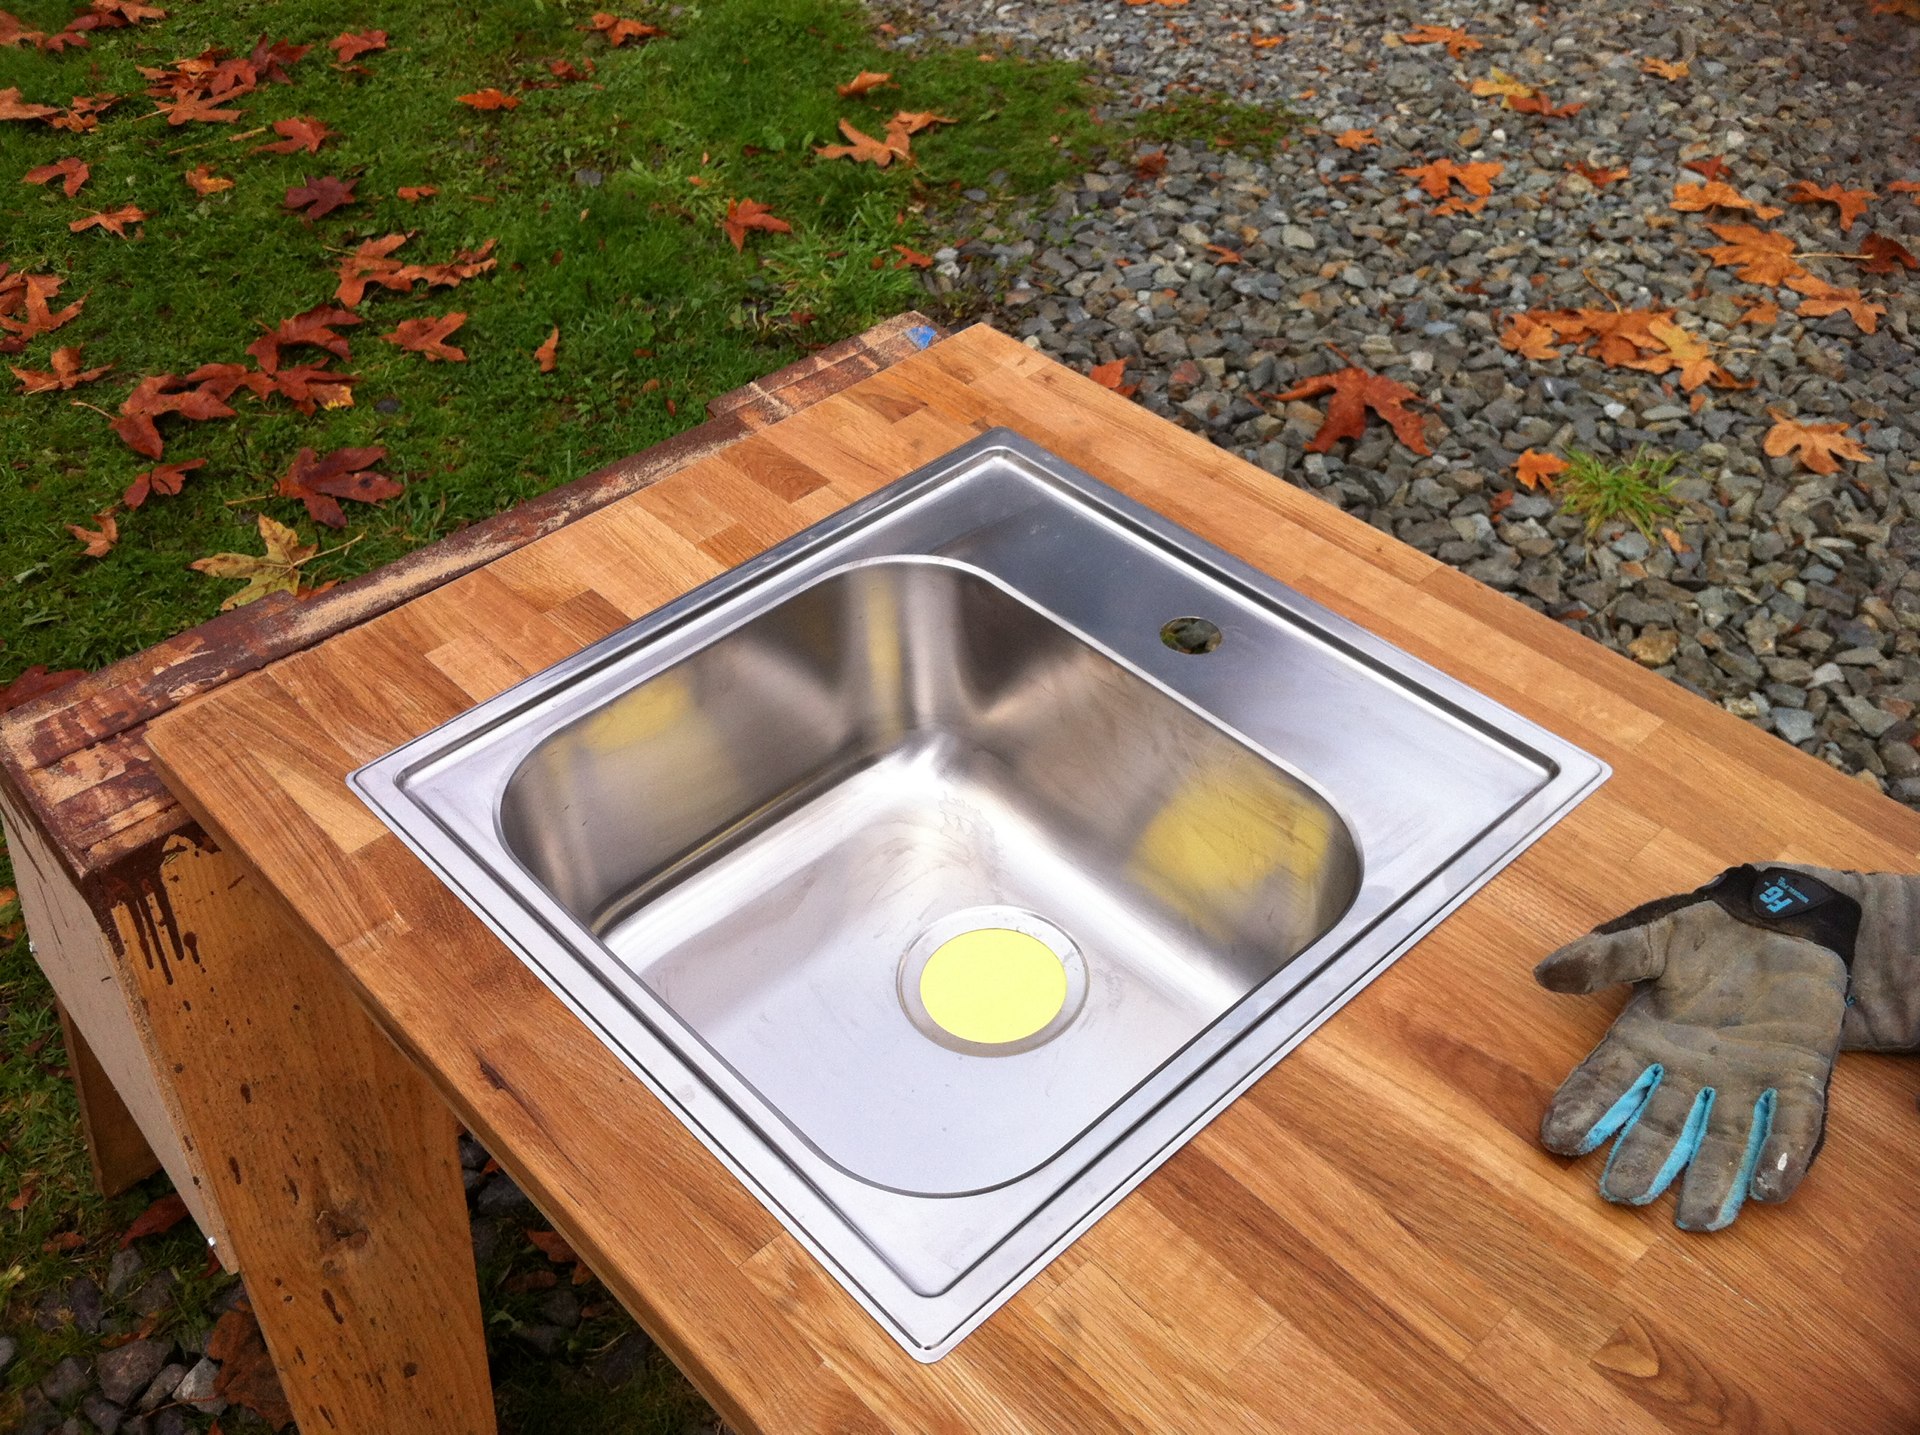
One of the days Chris had work off, was a beautiful day with the sun out... so... we tackled some outside projects. The first thing we did in the morning was the countertop cuts. We had to make the cuts for the sink and the stove top. The Countertop is 1.5 inches thick, and it’s a butcher block made out of maple.
The first thing we had to do was draw out the rough opening for the sink. We took some measurements and tracked them out on the top of the counter. We then lined up the drill to cut straight through the top. This was to create a starter hole for the jigsaw to work with. We drilled a hole in each corner of the outline. Then you take your drill and drag it from hole to hole till it pops out. Make sure to support the piece that is being cut, you don’t want it to rip up the countertop.
Nothing is secured just yet, since we have a few things to take care of first. But we are happy to see the kitchen taking shape right in front of us. I wish the family could see it all come together with us, but that’s why I do this blog... so friends and family can be with us as we take this journey.


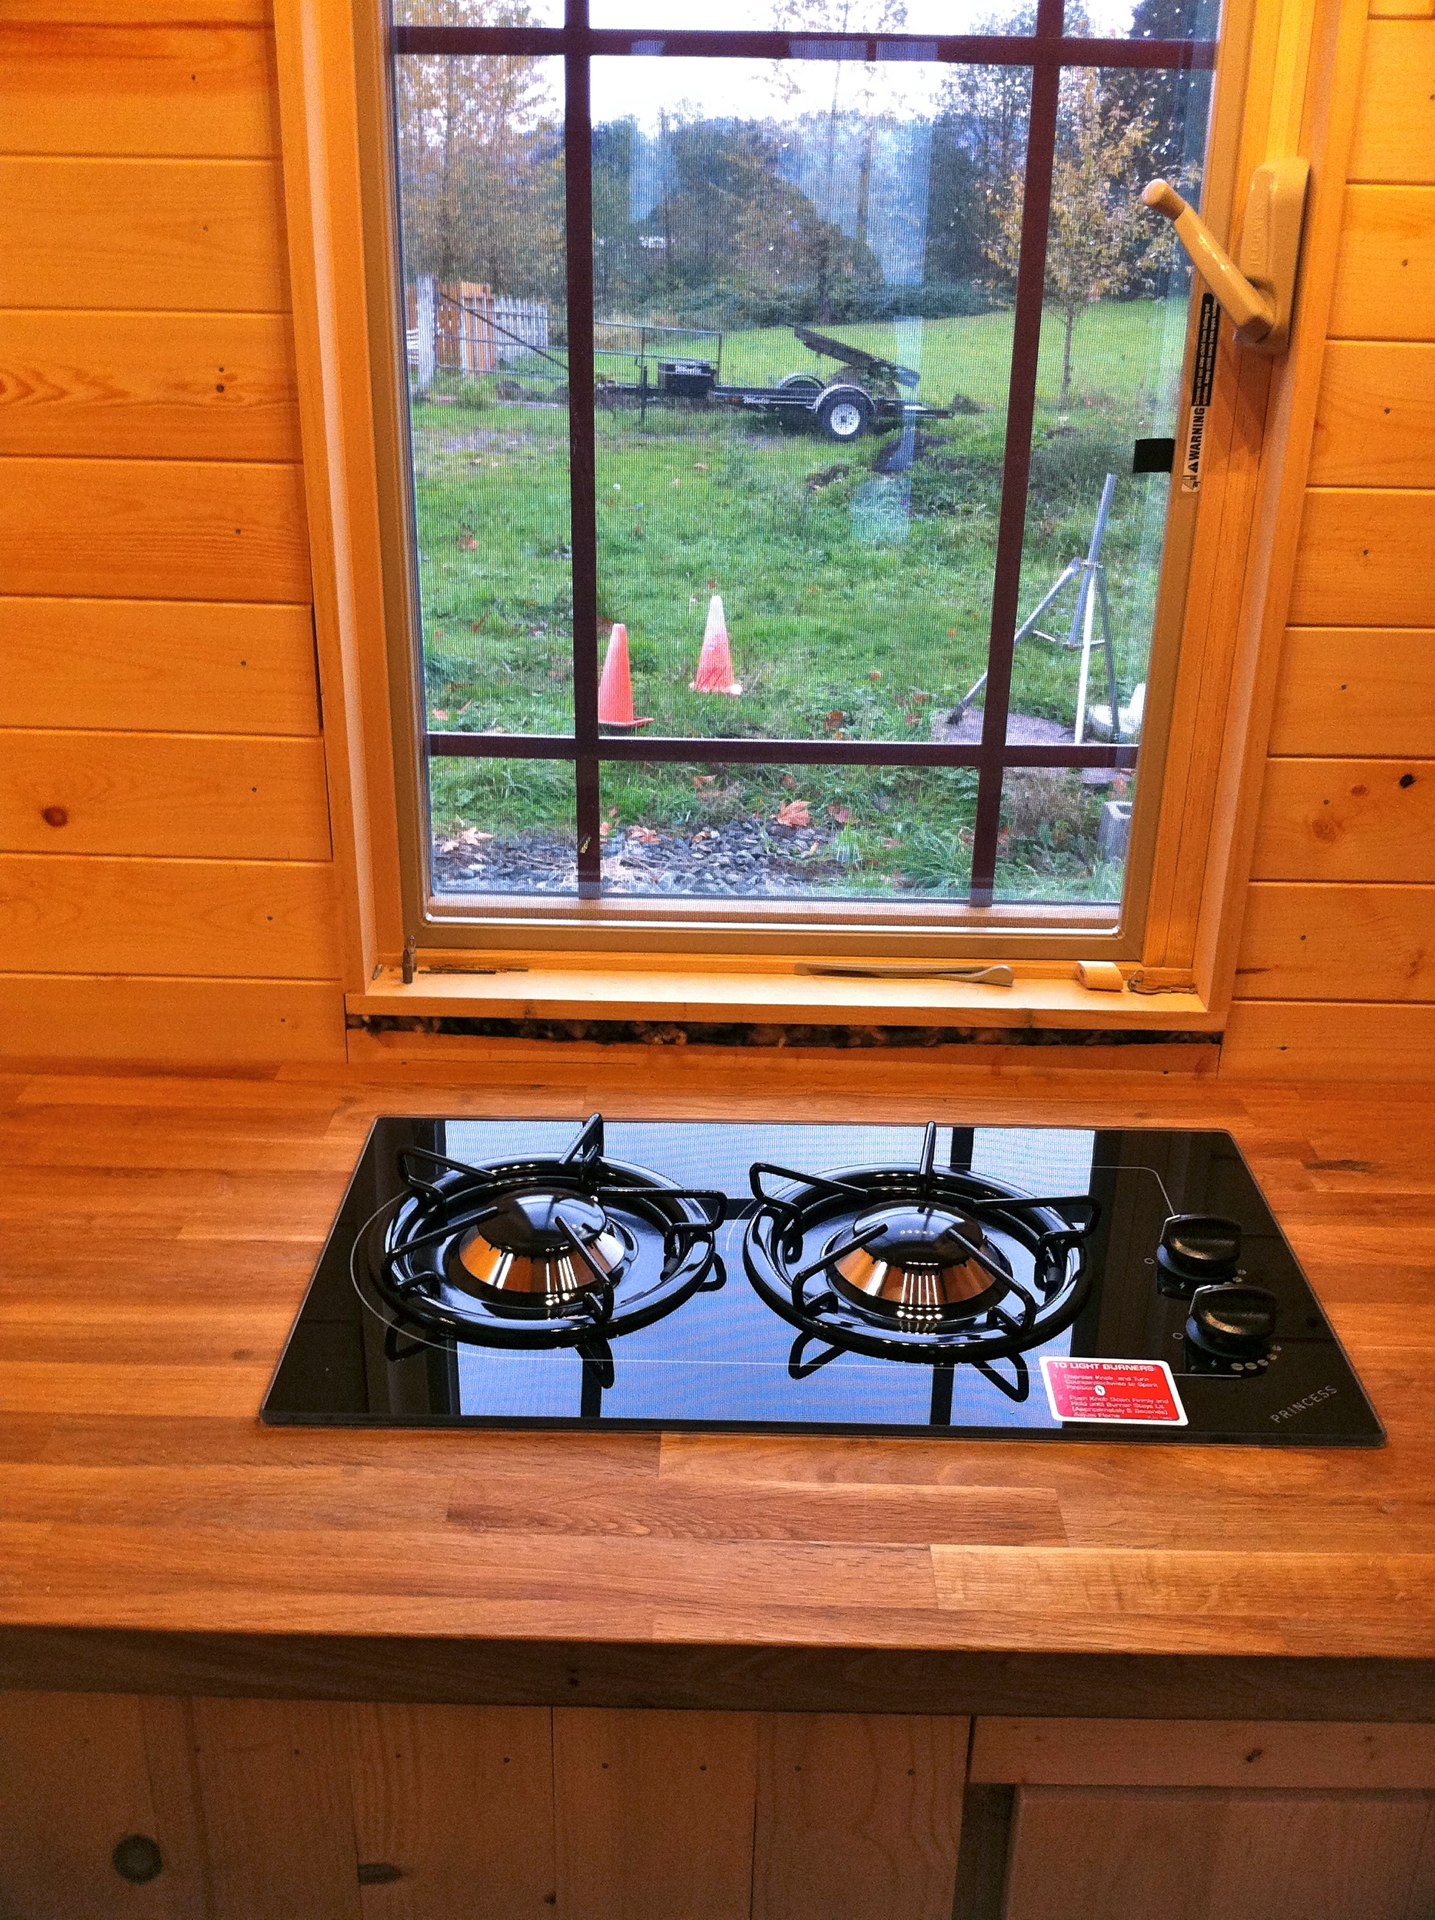


Right underneath the stovetop is our fresh water tank, and we wanted to make sure that for whatever reason, that we would be able to access it or take it out of the cabinet. Because of that, we made a panel that can be removed when needed.


We also finished up the dormers to the tiny house!!! We had a few days of good outside weather, so we decided to work on the outside a little more. Just a few more things to take care of and the outside will be all done!

